 |
J.T. |
|
J.T. |
 |
|
|
|
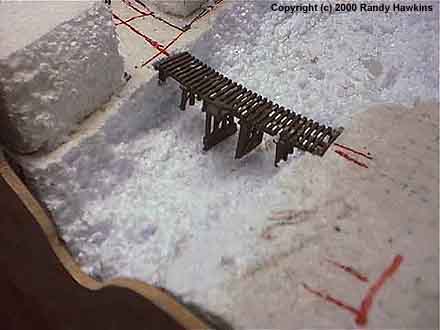
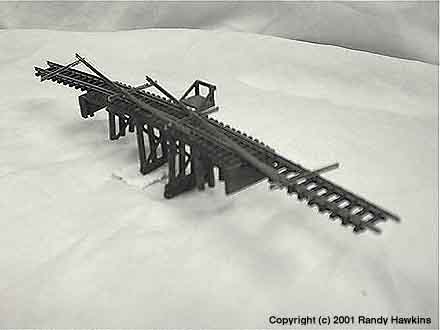
The first step in the construction was to combine the two partial trestles into one. Unfortunately, I did not think to take any photos of this process. There was not much to it...I just broke bents off of one trestle and glued them onto the other. The following photos show the completed trestle framing and the first steps of laying the rails on it.
|
|||||||||
|
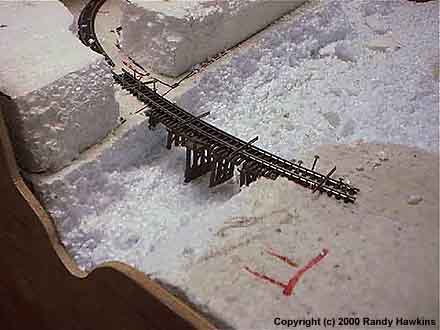
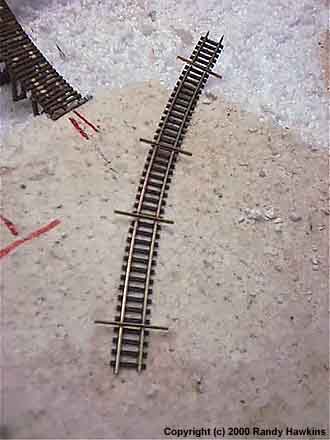
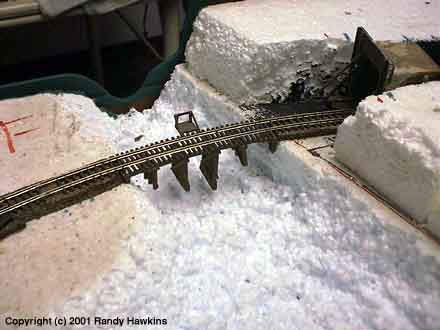
As mentioned above, I used the temporary braces to hold the rails in place. The track was longer than the bridge so I had to remove only the center plastic ties from the rails. This was easy to do with a pair of wire snips. When I completed this step, I placed the track over the trestle to see how things were going. I realized that the track had straightened itself out some and did not have the same curve shape as the trestle. I tried to force it back into shape but when I did this, the track started to twist. Aggravated, I chocked it as experience and started over. This time I did the same as before except that I soldered more braces across the tops of those I did before. Basically, I used the triangle principal and it worked great. It was then simply a matter of gluing the rails to the trestle with some super glue. I did this from the underside.
|
|||||||||
|
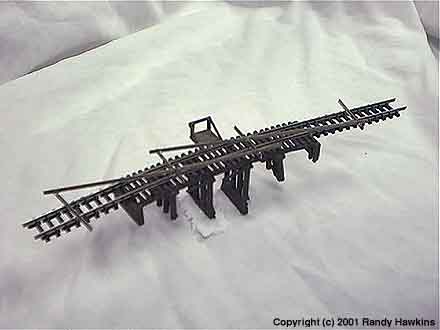
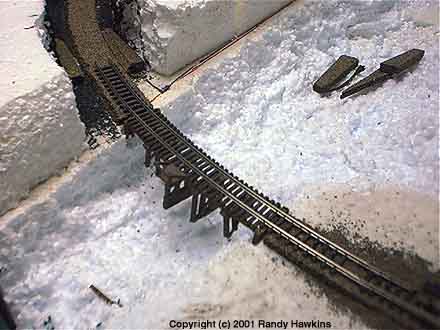
After removing all the braces, I could install the trestle and continue laying track.
|
|||||||||
|